Part 2: Making a Site with HUGO
By Rishav Bhardwaj
- 3 minutes read - 556 wordsIn our previous blog we talked quite a lot about benefits of keeping your site static and why using hugo for that is best.
In this post we are going to create a site using hugo and i will also show you how to easily create new content on your static site.
Let’s start without wasting any more time!
You don’t need a traditional Computer to follow this guide, you can even use it on your android phone.
This Guide contains 3 Steps, so lets start with first one.
Step 1 Installation
-
For PC & Laptop Users: download and install Git from here and Hugo from here
-
Android Phone Users: you only need to download and install one application called Termux from here (f-droid).
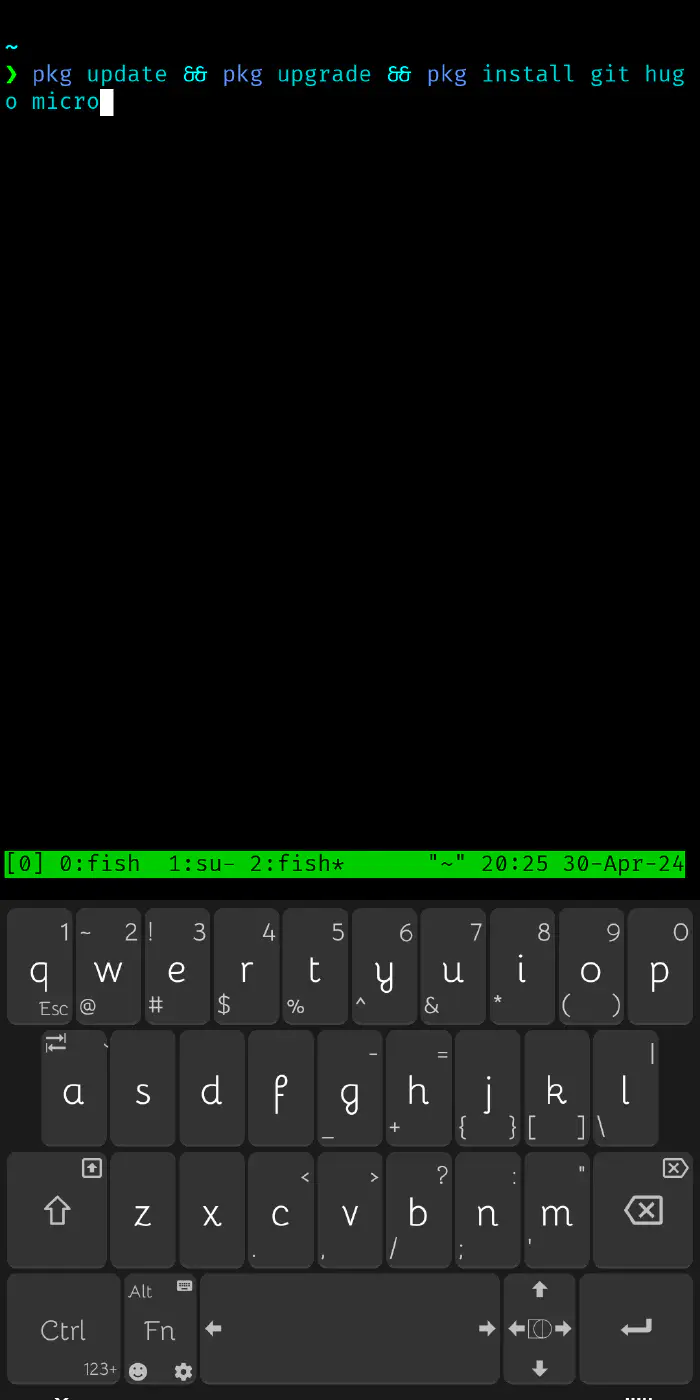
now open the Termux App and let it finish the first time initialization, after that copy and paste these code
pkg update && pkg upgrade && pkg install git hugo micro
Micro is a modern and easy terminal text editor that’s why we are installing it too!

Step 2 Creating Site
Remember in previous article we talked about layout files? Hugo need those files to generate your site and content but in this article we are not going to do any coding. there are lots of Hugo layout available, almost all of them are free and they are called Hugo Themes. We are going to use the default recommended theme from Hugo ananke.
Make the site and then go inside the new generated folder
hugo new site name-of-the-site && cd name-of-the-site
make the current folder a Git repository for backing it up and uploading the source code to github
git init
Let’s install the theme
git submodule add https://github.com/theNewDynamic/gohugo-theme-ananke.git themes/ananke
telling hugo to use our installed theme
echo "theme = 'ananke'" >> hugo.toml
you can even open the hugo.toml with any text editor and manually add the theme = 'ananke' line.
And we are done! To see the site run this command
hugo server
this will start the live development server and to open the site go to this address in your browser
http://localhost:1313/
!Please check the port number printed on the terminal/console if it is 1313 or something else and if it is something else then change the address in the browser respectively and then site will open.
Step 3 Creating Content
Now our site is working lets learn how to add new pages to our site because currently it’s blank.
to add new page
hugo new content my-first-blog.md
files ending with .md are markdown files they are plain text format for writing structured documents like adding boldness, italic to the word, making word & sentences big and adding images. It’s really simple, it’s like writing MS Word document but without MS Word, you can learn it in 5min from here. It’s great because you don’t have to write or learn HTML.
open the my-first-blog.md file inside content folder with any text editor and write anything inside it after already written last line and save it.
We have to again run
hugo server
because we closed the previous one to run other commands.
now you will see your post on the homepage of your site.